Boss Guide
Strategies and tips for the major boss encounters in Lost Soul Aside. From the first dimensional invader to the final confrontation, we've got you covered.
General Boss Strategy
Before diving into specific encounters, here are universal tips that apply to every boss fight in Lost Soul Aside:
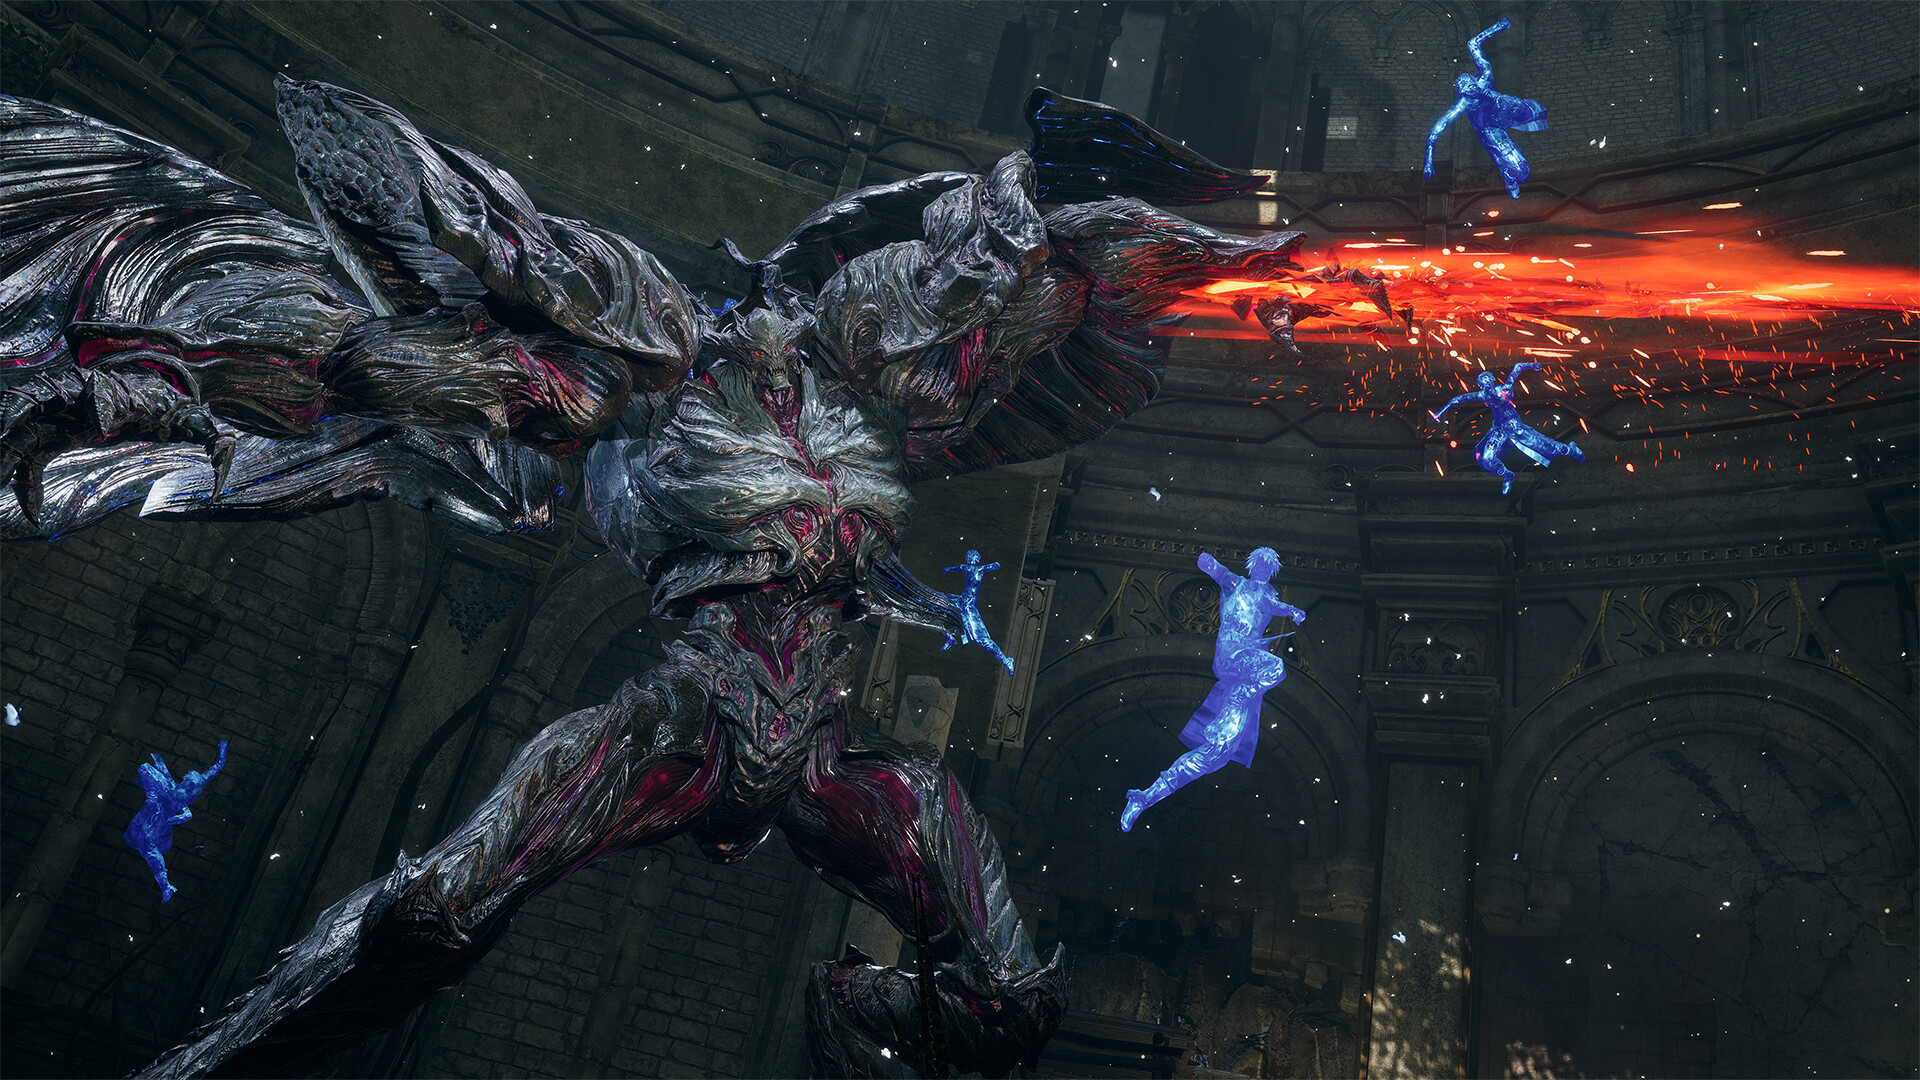
- Learn the tells. Every boss attack has a wind-up animation. The more you can recognize these tells, the earlier you can react. Spend the first 30-60 seconds of any new boss fight purely on defense: watch, dodge, and learn the pattern before committing to offense.
- Watch for phase transitions. Most bosses have two or three phases that activate at certain HP thresholds (often 75%, 50%, and 25%). Phase transitions usually involve new attacks, faster move speed, or environmental hazards. When a boss glows, roars, or the music changes, be ready for something new.
- Positioning matters. Many bosses have arena-wide attacks that are easier to avoid if you're positioned correctly from the start. Stay mobile and avoid corners: being cornered is often a death sentence.
- Don't get greedy. The #1 cause of boss deaths is overcommitting to a combo when you should be dodging. Land 2-3 hits, then create space. A patient approach will kill the boss faster than aggressive play that gets you killed.
- Use the right form. Some bosses are weak to specific weapon forms. If your damage seems low, try switching forms. Fast forms for mobile bosses, heavy forms for slow ones, reach forms for flyers.
- Stock up before the fight. Make sure you have healing items, any relevant consumables, and your preferred weapon forms are at their highest upgrade level before entering a boss arena.
Early Game Boss Encounters
The early bosses in Lost Soul Aside acts as skill checks for the mechanics you've learned in the opening areas. They're designed to be challenging but fair for a player who has mastered the basics.
The First Invader
Context: The first major boss encounter occurs near the end of the opening area. This boss acts as the game's first true test of your combat skills.
Strategy: This boss has a limited moveset: typically 3-4 attack patterns that cycle predictably. Focus on learning the parry timing for its melee swings, as successful parries create large damage windows. Dodge its area-of-effect attacks rather than trying to parry them. The boss has one phase; no dramatic transitions, but it becomes slightly more aggressive below 30% HP.
Recommended approach: Use the Balanced Sword form. Stay at mid-range to bait its lunge attack, dodge forward through it, and punish with 2-3 light attacks followed by a heavy. Repeat.
Early Dimensional Entity
Context: Encountered in the first major area after the tutorial. This boss introduces multi-phase combat with environmental elements.
Strategy: This boss has two phases. Phase 1 focuses on melee attacks with generous parry windows. Phase 2 (at ~50% HP) introduces ranged attacks and summons small enemies. Deal with the summoned enemies quickly: they distract you from the boss and can overwhelm you if ignored. The boss is vulnerable to the Fast Form, which lets you build up resources quickly and then unleash special abilities during its recovery periods.
Reward: Defeating this boss typically rewards you with a new weapon form or a significant upgrade material.
Mid-Game Challenges
Mid-game bosses increase in complexity with more attack patterns, multiple phases, and unique mechanics that test your mastery of the combat system.
Winged Invader
Context: A flying boss encountered in a large open arena. This boss tests your aerial combat skills and your ability to manage a mobile target.
Strategy: This boss spends much of the fight in the air, making melee difficult. Use jumping attacks and the Reach Form to hit it during its strafing runs. The boss periodically descends to the ground: these are your primary damage windows. During its ground phase, unload with your heaviest combos. The boss has two phases: in phase 2, it gains a devastating dive-bomb attack that covers most of the arena. Watch for the screen shake before it dives and dodge laterally.
Recommended approach: Reach Form for aerial phases, switch to your heaviest form during ground phases. Save special abilities for when the boss is grounded.
Colossus
Context: A massive enemy fought in an enclosed arena. This is a "puzzle boss" that requires more than just attacking: you need to target specific points on its body.
Strategy: The Colossus has armored sections that take reduced damage. Your goal is to destroy its leg armor first, which causes it to stumble and exposes its core weak point. Focus your attacks on one leg at a time. The boss has sweeping melee attacks that cover a wide arc: dodge toward the boss (between its legs) rather than away to avoid the swing. After both legs are broken, the boss falls and you can attack its exposed core for massive damage. This pattern repeats 2-3 times before the boss is defeated.
Recommended form: Heavy Form for breaking armor segments. The extra stagger damage is crucial.
Late-Game Confrontations
The final third of Lost Soul Aside features the game's most challenging boss encounters. These bosses demand mastery of all systems and the ability to adapt quickly to changing circumstances.
Dimensional Warden
Context: A major story boss encountered near the climax. This boss combines all the mechanics you've learned into one demanding fight.
Strategy: The Warden has three distinct phases with very different attack patterns. Phase 1 (100%-60% HP): Fast melee combos with short parry windows. Stay mobile and punish small openings. Phase 2 (60%-30% HP): Gains teleportation and ranged attacks. Keep moving and be ready to dodge immediately after any attack. Phase 3 (30%-0% HP): Everything from phase 1 and 2 plus a devastating ultimate attack. The ultimate has a long wind-up: use this time to create maximum distance and prepare to dodge.
Key tip: This boss has very distinct audio cues for each attack type. Playing with sound on is strongly recommended for this fight.
Final Boss
Context: The climactic battle of the main story. No spoilers here: just preparation tips.
Strategy: The final boss uses attacks from many previous bosses but combined in unpredictable sequences. There's no shortcut here: you need to react to each attack individually based on its tell. The fight has multiple phases with a story moment between them. Make sure all your weapon forms are fully upgraded before this fight. Stock up on the best healing items available. Consider respecing your skill points if your current build isn't working: survivability skills are particularly valuable here.
Reward: Story completion, endgame content access, and the satisfaction of finishing Kael's journey.
Optional / Post-Game Bosses
Beyond the main story, Lost Soul Aside features optional boss encounters for players seeking additional challenges and rewards:
- Hidden Invaders: Powerful dimensional entities found in optional areas. They require specific strategies and are significantly tougher than story bosses at the same point in the game.
- Rematch / Challenge Mode Bosses: Some sources suggest the game may offer enhanced versions of story bosses as post-game content, with new attacks and increased difficulty.
- Special Encounters: Certain rare enemies found only by exploring thoroughly or completing specific side quest chains offer some of the toughest fights in the game.
⚠️ Community Note
This boss guide is based on community documentation and reports from the released game. As players continue to discover new strategies and locate all optional content, this guide will expand. Check back for updates as the community maps out every encounter in Lost Soul Aside.